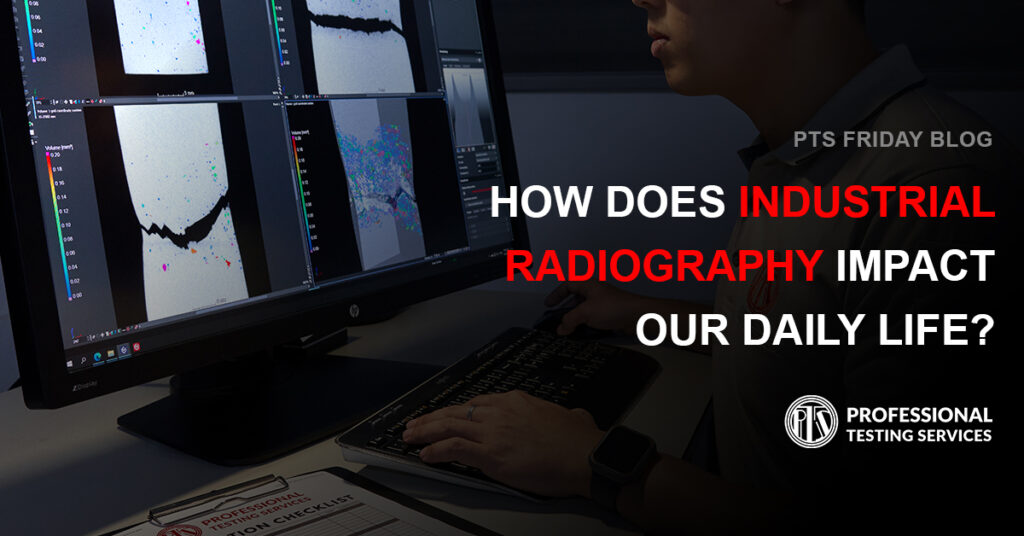
Industrial radiography works by pointing a beam of x-rays or gamma rays at the tested item. A detector is lined up with the beam on the other side of the item. The detector records x-rays or gamma rays that pass through the material.
Using highly penetrating x-rays, gamma rays, and other forms of radiation that do not damage the part itself, radiography provides a permanent visible film record of internal conditions. It contains the basic information by which soundness can be determined. In the past decade alone, the evidence from millions of film records, or radiographs, has enabled the industry to assure product reliability, has provided the informational means of preventing accidents and saving lives, and has been beneficial for the user.
Aircraft parts

Modern aircraft is designed for effective operation over extended life cycles. Safety and performance requirements mandate that extensive inspections of flight-critical components and assemblies be performed throughout the aircraft life cycle. Typical criteria for critical flaw sizes are often determined from empirically validated models of defect growth and effects during cyclic fatigue. The ability to reliably detect flaws at smaller sizes can reduce the necessary frequency of inspection.
Boilers

The most common failure mechanism for the boiler is corrosion fatigue. Corrosion fatigue occurs predominately in the water walls and economizers of subcritical plants. It is a cracking mechanism in fossil-fueled generating plants that stems from thermal cycling and water chemistry in high-stress areas.
The testing involves the combination of the proper phased array ultrasonic (PAUT) and Time of Flight Diffraction (TOFD) techniques. The solution can effectively and efficiently deal with low clearance areas, varieties of diameters, and the presence of weld caps. Furthermore, it can detect all defect types and offer through-wall sizing capability.
Metal Welding

Radiographic inspection is the most common method of Industrial radiography testing used to detect discontinuities within the internal structure of welds.
The testing will reveal the welding site to be bright white as it is thicker than the rest of the pipe material. The cracks show up as darker areas because the radiation has passed ultimately through the cracks. The welding stops the rays almost completely from passing through, which makes it show up brighter than the rest of the images.
The future of industrial radiography

The growth of the industrial radiography testing market is encouraged by the rising demand from the automotive and aerospace industry because of the stringent safety regulations by various governments and preventive maintenance of industrial equipment.
With the growing demand for high-quality products, the industrial radiography testing market is expected to have a wide scope of applications in areas such as petrochemical and gas, manufacturing, automotive and transportation, aerospace, power generation, and others.
As technology evolves, CT systems are expected to provide manufacturers with a means of inspection and valuable insight into the production process, which is expected to boost the adoption rate of CT systems. New radiation sources such as multimillion-volt x-ray machines are designed to produce highly penetrating radiation, which extends radiography’s usefulness to industry.


